
Review, edit, and approve documents within the Conexiom Express interface.
Opening Express through a Document Entry Alert
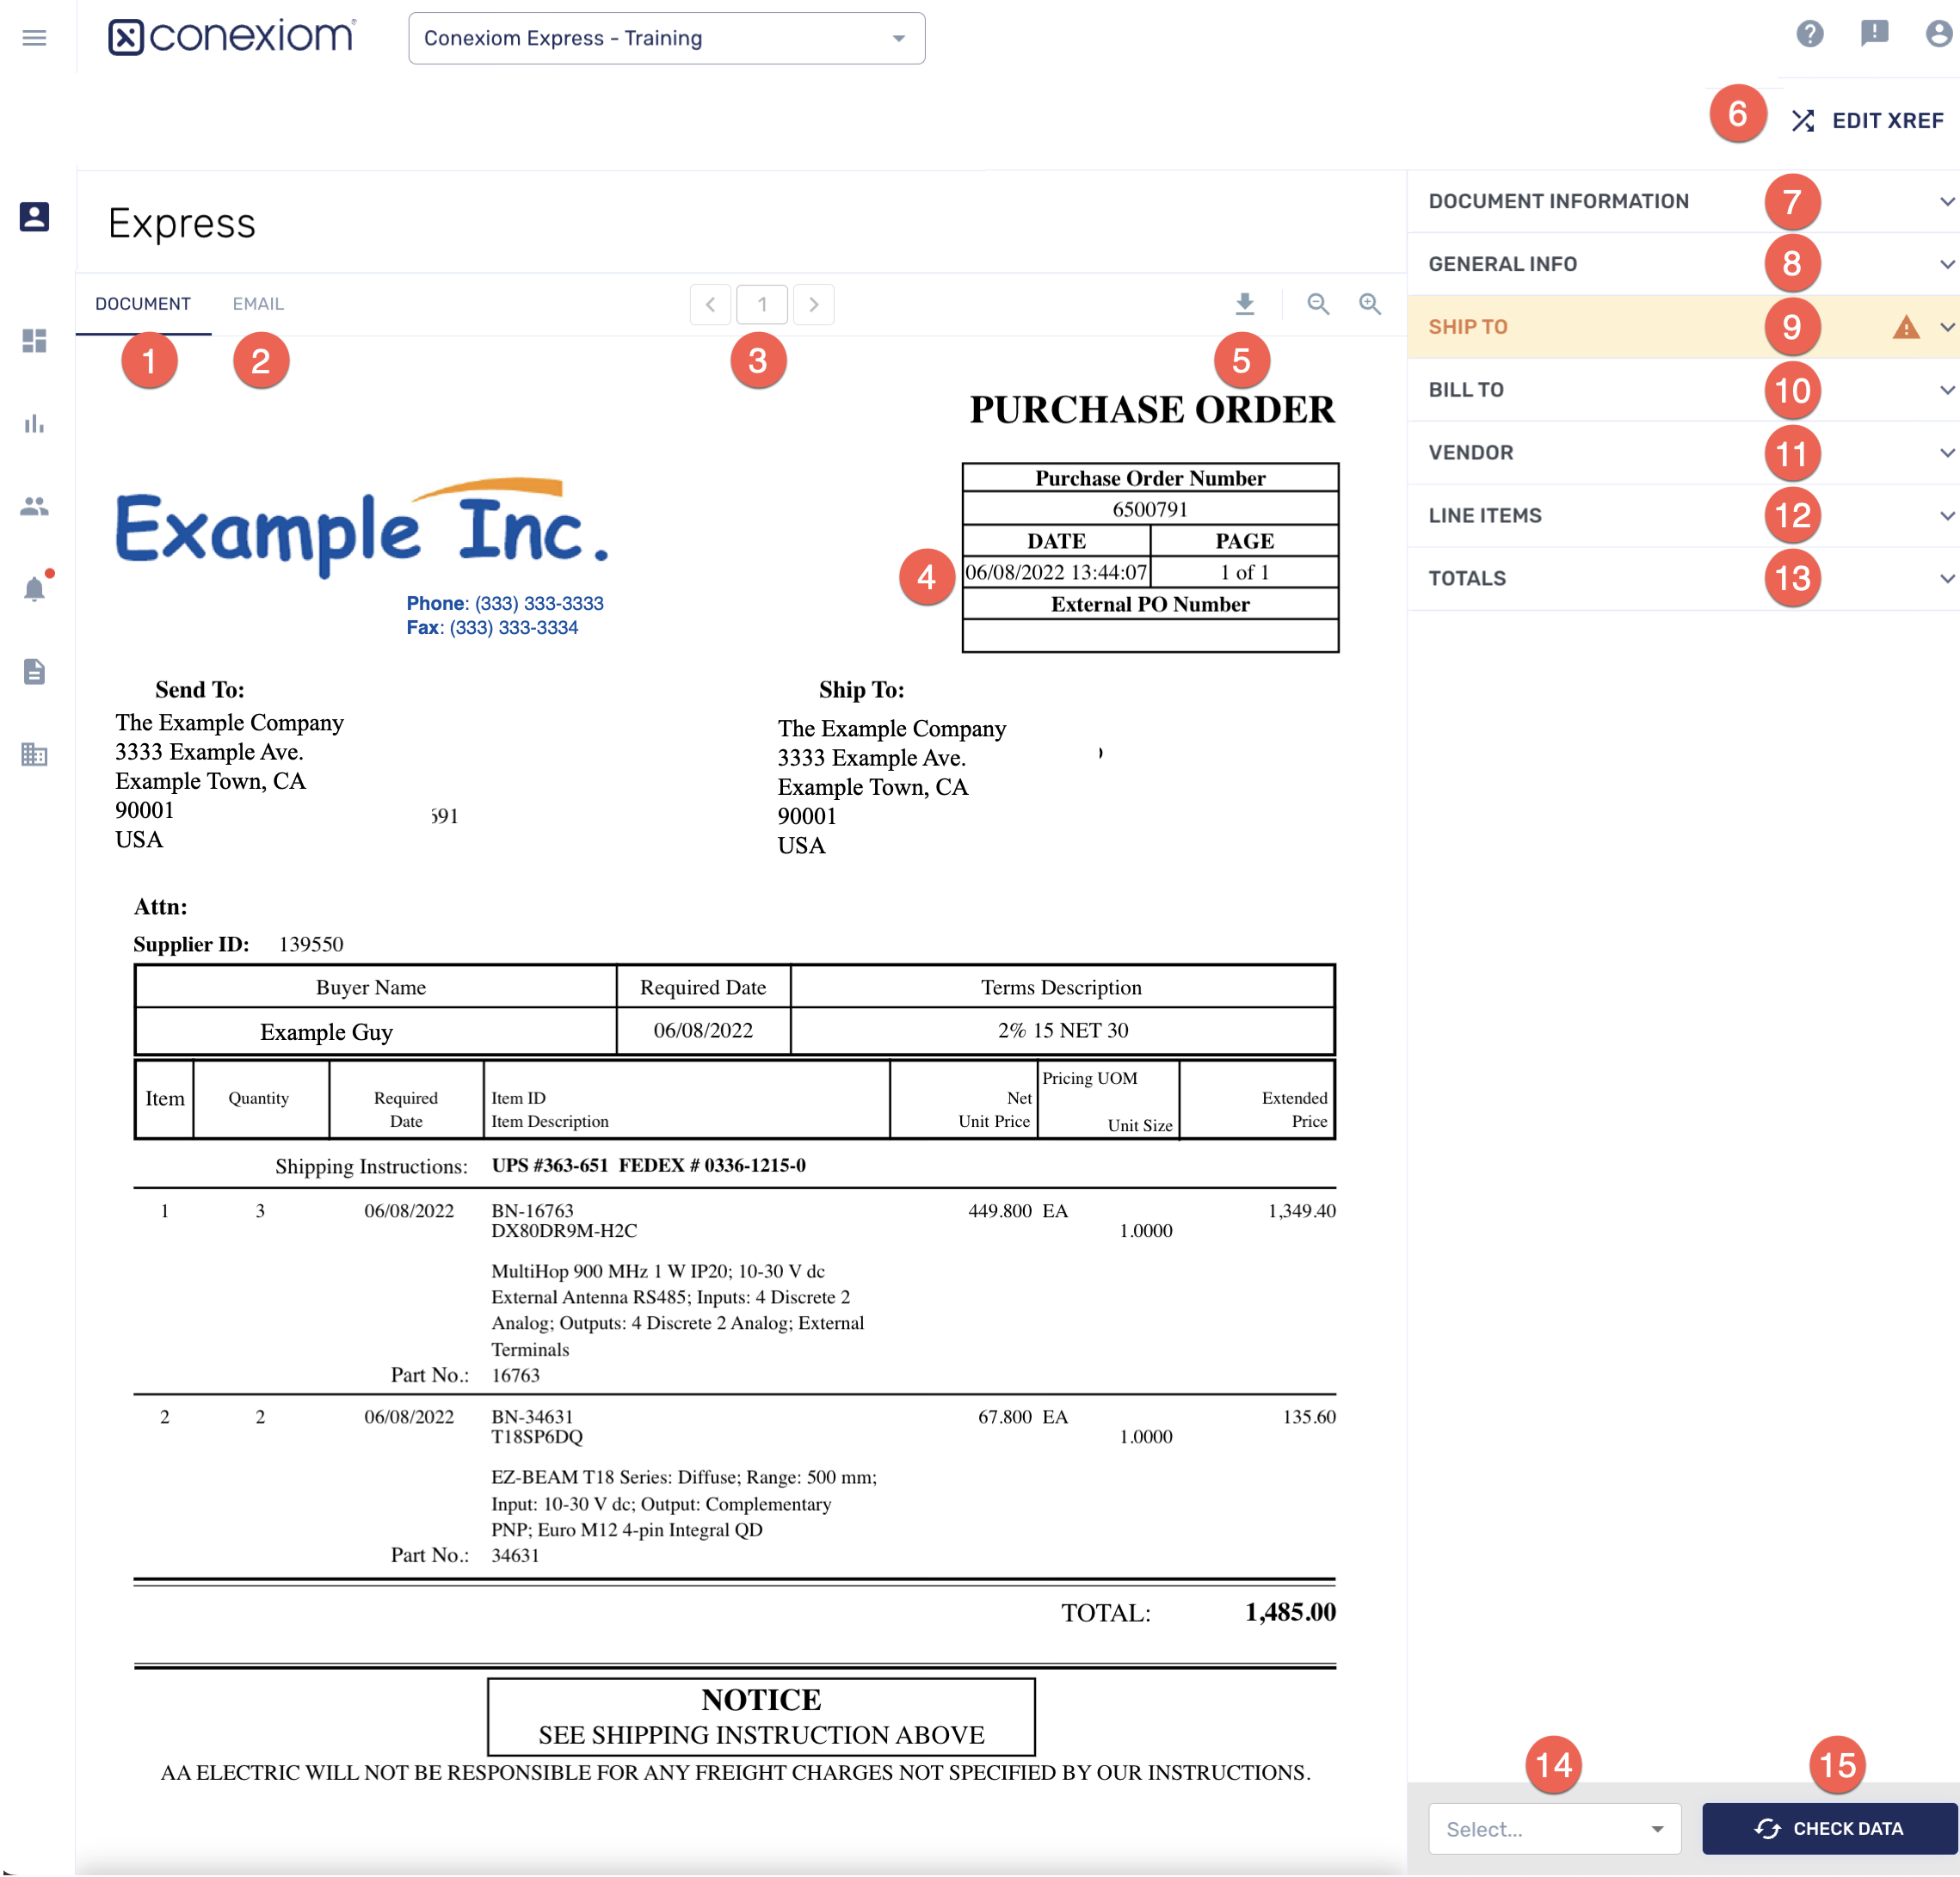
When you open a Document Entry alert, the Conexiom Express interface displays on a single screen. On the left side of the screen, you can see a copy of the original document, (whether in PDF, an unstructured document, such as a handwritten document, or a spreadsheet file format). Evaluate this AI generated copy to see what needs to be added or changed before the document can be approved, including with unstructured and handwritten documents.
The right side of the screen displays titled panels such as Ship To, or Bill To. Each panel groups the different fields in the document shown on the left side, such as the name and the address of the party to whom the product will be shipped.
Descriptions of Conexiom Express’s features follow. Numbers on the image shown below correspond to descriptions below it.
Note: the image below represents the PDF file format only. (For more information on spreadsheet files, click here).
Features as Numbered in the Image Above
Features described below. correspond to numbers in the image above.
|
1 |
The Document tab is open by default. Here you can review the original PDF, an unstructured, or a spreadsheet document that was submitted. Note: the image shown above represents the PDF file format only. (For more information on spreadsheet file formats, click here). |
|
2 |
Click the Email tab when you want to examine the email to which the document you are working with was attached. |
|
3 |
In a multiple page document, the Page Counter displays current page number. Click Page-Switch Arrows (< or >) to choose different pages. |
|
4 |
Note: Fields can be defined as read-only. (If a field is read-only, it will not be shown on nested drop-down menus and cannot be double-clicked to copy the values). For more information on methods for populating Express fields, click here. |
|
5 |
Click the Download icon to transfer a copy of the original document to your computer system. Click Zoom In or Zoom Out, to magnify or reduce the size of the document. |
|
6 |
In the upper right corner of the screen, click an icon to display a menu. The choices are: Help, (including Knowledge Base, Contact Support and Training Courses), Settings, Announcements, and User Account. 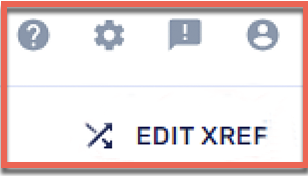
For ease and convenience, you can open cross-reference tables on a new tab by clicking the Edit XREF link. |
|
7 |
The Document Information tab is read-only. It shows the computer’s record of essential document information, including customer name, document status, sender, receiver, email subject, reception or processing date, document ID, line count, and total currency amount. |
|
8 |
The General Info tab serves as a centralized hub for overseeing general document details, including customer ID, document number, order date, payment terms, shipping method, FOB, currency, and buyer information. |
|
9 |
The Trading Partner and Sold-to ID fields in the General tab record to whom the product is to be shipped. For each document you process, Express can return up to five recommended Sold-to IDs, based on previously processed documents, each paired with an AI confidence score that displays in order from a drop-down menu when you click it. When confidence scores are close, you can quickly review the options and choose the correct one. If both fields are blank, click the Sold-to ID field and from the dropdown menu that displays, select the best choice, using the corresponding confidence scores to help you choose. Sold-to ID and Trading Partner fields must both be filled in because they act as a pair. This association is used to recognize and process future documents that have a similar structure. For more information, See Viewing Sold-to Recommendations in Express.
|
|
10 |
The Bill To tab records to whom the product is to be billed. It also provides address-search capability. Click the Search for an Address field to select the correct addresses from a drop-down list. Note: You can hide the Address drop-down menu in the Bill-To field through a setting in metadata. For example, currently the menu pulls data from the Addresses table. However, if you are looking up addresses in your ERP or in a different global cross-reference table, for convenience, you may want to disable the addresses drop-down menu. |
|
11 |
The Vendor tab records vendor information, including Vendor ID, FAX, and Phone. |
|
12 |
Click the List Items tab to open the List Items dialog. It enables you to add to, edit, or remove data from the list of products and its descriptions.
|
|
13 |
The Totals tab serves as a central hub for consolidating the total cost associated with the order. It includes standard fields such as subtotal, state tax, federal tax, freight, order discount, and the final total. |
|
8-13 |
Note: In any of the panels described above that may require input (See 8-13), instead of being required to enter information when it is absent, menus can be set up that include specific choices. For example, you can have the Currency field configured to allow selecting between USD, CAD, and EUR. |
|
14 |
Click the field to display a full list of available document actions:
|
|
15 |
Click the Check Data button, (identical in function to the menu item described above), to validate field data against ERP and cross-reference data. When data discrepancies are identified, the system marks them as warnings that are highlighted in yellow. Note: You can click Check Data or Check and Apply Data even when the document contains an error. (Errors are detected and flagged as users enter data into each field. Errors are not triggered by clicking Check Data.) Approval Summary When a document is approved, a dialog displays with congratulations and statistics for the document. 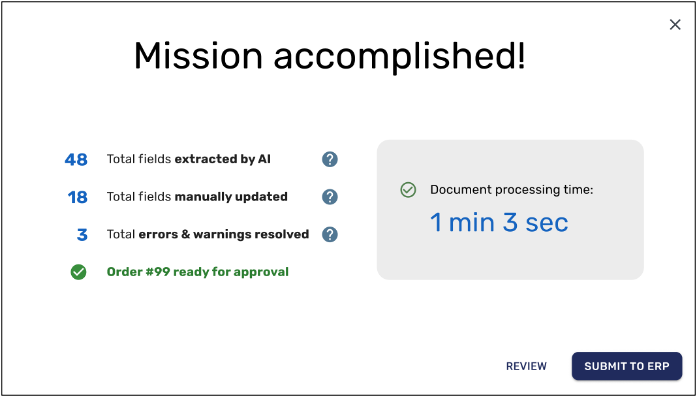
In addition, an Approval Summary is produced. The Approval Summary which can be thought of as an audit trail, displays a history of all changes made during a session, prior to document approval. It can be accessed through the Document History section of the Document Details page in Premier, after the document is processed. You can also download the summary. You can enable or disable this feature set. Autopilot You can also set up Autopilot, a feature that streamlines document processing by automating the approval process while maintaining data integrity. This feature allows you to configure your level of automation, balancing efficiency with control. For more information, click here. |