The Test Documents Sub-tab
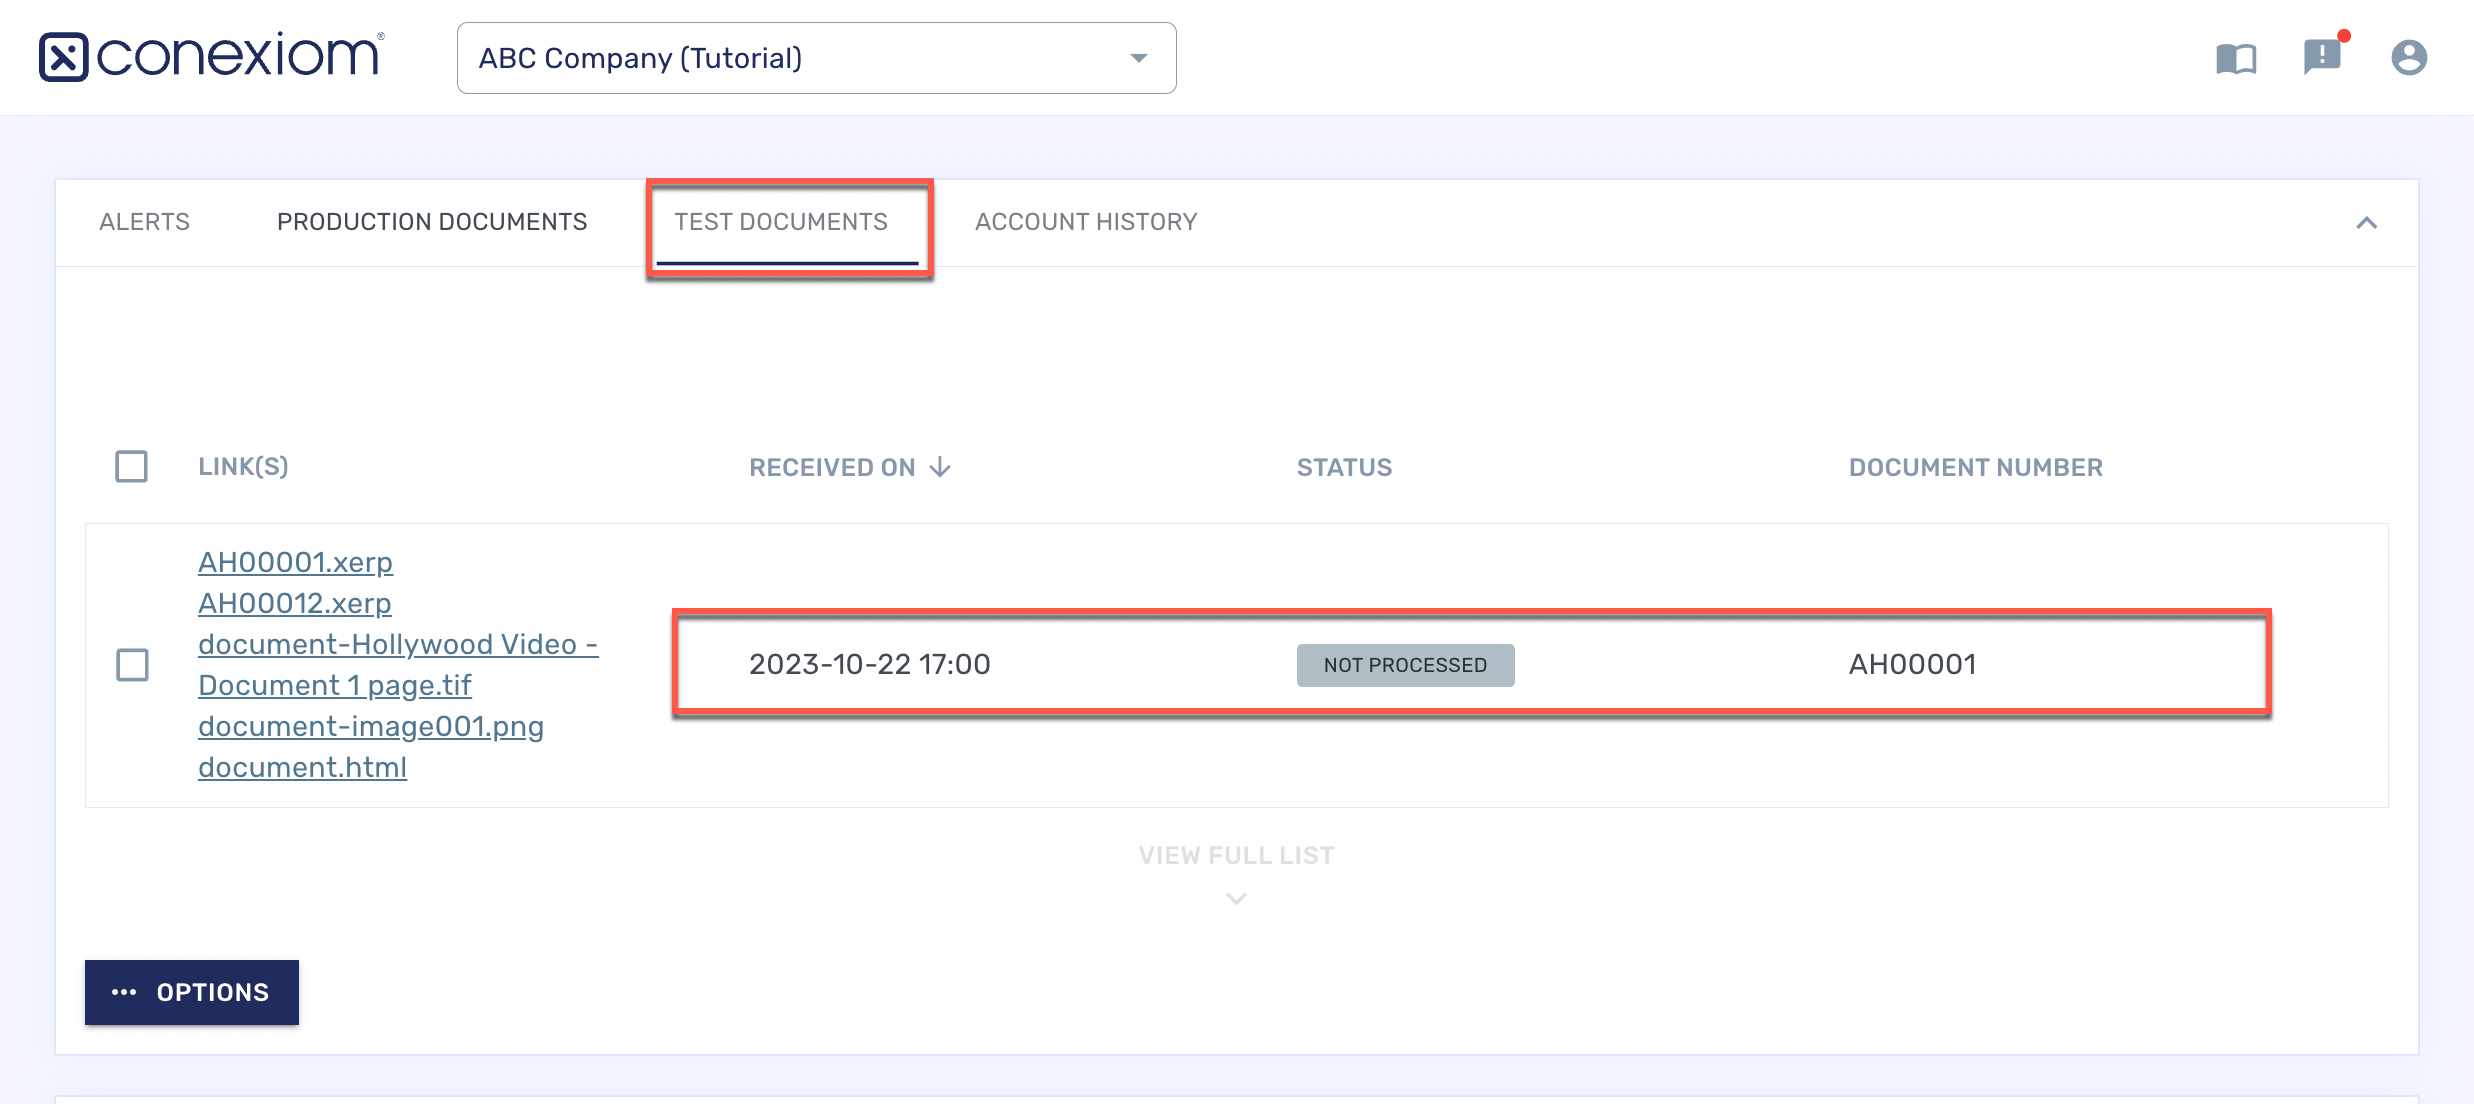
The Test Documents sub-tab displays documents you have uploaded.
Whether they were uploaded or sent in via the test email address provided to you by your Implementation Manager, your most recent test documents display in the Test Documents sub-tab.
Click Test Documents for a list of the five most recent test documents that you are working with during the pre-production phase.
This tab is almost identical to the Production Documents Tab:
Both Document tabs provide you with access to the original document, document details page, the ability to bulk edit, and a simple path to create change requests.
The Test Documents tab works the same way as the Production Documents tab but has an additional Upload feature and access to Configuration Manager if your site is configured for it.
To view more documents than the five most recent, scroll if necessary to the bottom of the list and click View Full List. The list displays in a different view that includes an Upload feature. The full-list view will be active on both the Test Documents tab and the Production Documents tab and will persist until you clear your cache.
The links below will guide you through the various sections of the Document Details page.
Opening the Document Details Page
From either the Production or the Test Documents Tabs, you can open the Document Details Page.
Click on any of the column listings except for the document link.

The Document Details Page opens alongside a view of the PDF version of the document.
.png?inst-v=cbfc6473-2c5d-4b89-8f53-e6ca08a67036)
Opening the Original Document
From either the Production or the Test Documents Tabs, you can open a digital copy of an original document you submitted.
In the documents list, click the underlined document link for the document you want. A copy of the original document either displays or downloads, depending on its file type. For example, a PDF document opens in a browser window; an EML is downloaded. You can also open the original document from the Document Details page.
Click Download above the thumbnail of the document in the Document Details page. (See also The Document Details Page).
Opening a Change Request, Configuration Manager, or Uploading from the Test Documents Tab
The Options menus of both Production Documents and Test Documents Tabs include Request Change. (For best practices of submitting a change request, see Guidelines for Submitting a Change Request).

Configuration Manager should only be used for initial configurations. For subsequent requests use email or text.
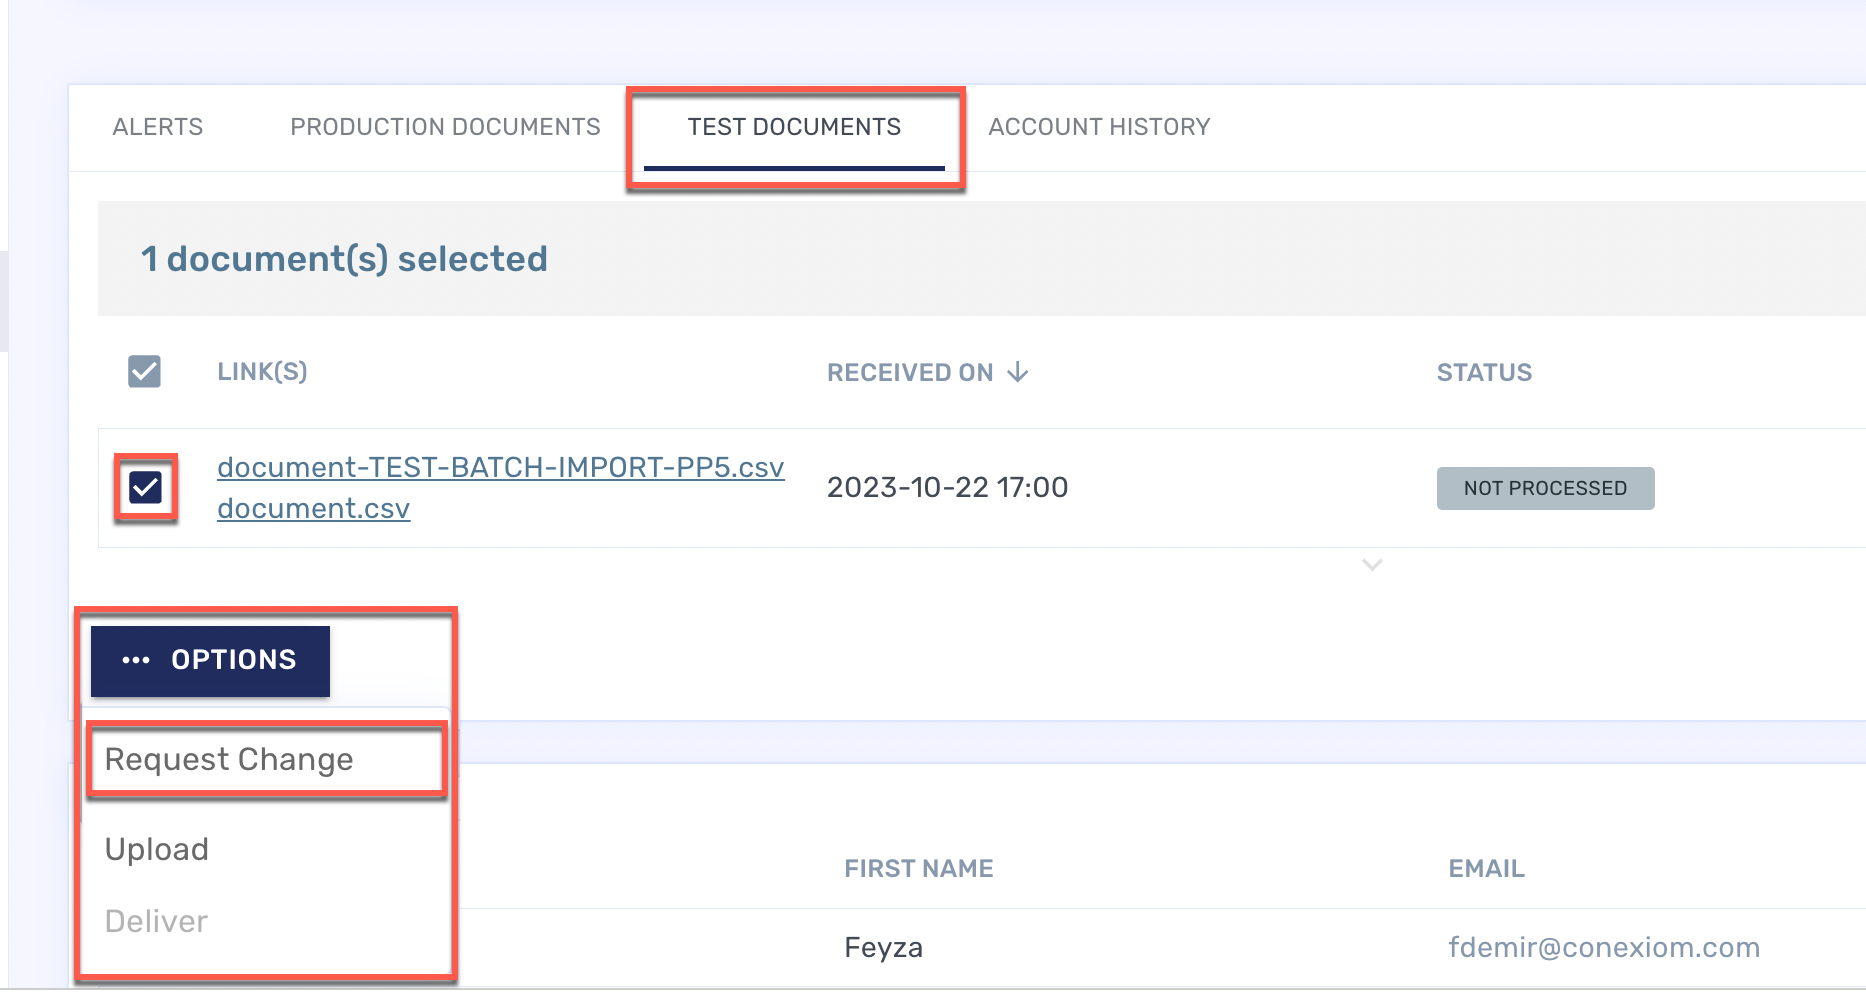
To launch a change request without selecting one or more of the listed documents, click Options and from the menu that displays, select Request Change.
From the dialog box that displays, click the dropdown menu and select what the request relates to.
From the dialog box that displays, you can select either Text Request or Email Request.
.png?inst-v=cbfc6473-2c5d-4b89-8f53-e6ca08a67036)
In order for the configuration information to be associated with the correct trading partner, it is important to launch the email from the portal. Do not use a regular email address. Also note that you must type above the line as directed in the email and not remove any of the pre-populated information.
Opening Configuration Manager
If your trading partner is not in production and your site has been configured for it, you can launch Configuration Manager. Once it is in production, however, you cannot launch it.
To launch a change request with selecting one or more of the listed documents, click Options and from the menu that displays, select Request Change.
From the dialog box that displays, you can select Configuration Manager, Text Request or Email Request.
From the dialog that displays, select Configuration Manager.
This is a basic operation in the process creating a new account when Configuration Manager is available.

Uploading Documents
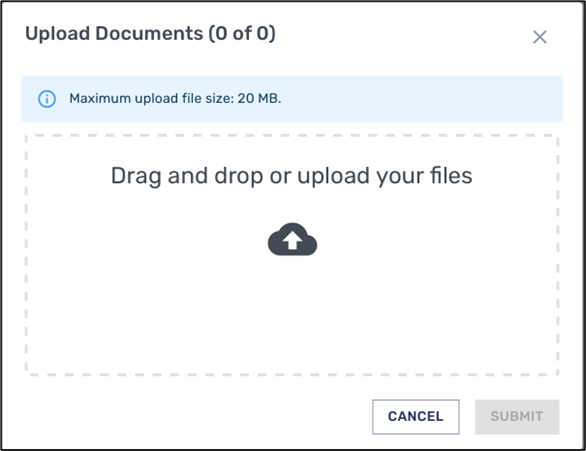
Selecting Upload allows you to transfer documents directly to Conexiom instead of sending them by email.

From the Options menu, select Upload. A dialog box displays.
Drag and drop your document into the space provided or double-click the space to open a Browse window from which to select.
Delivering Documents
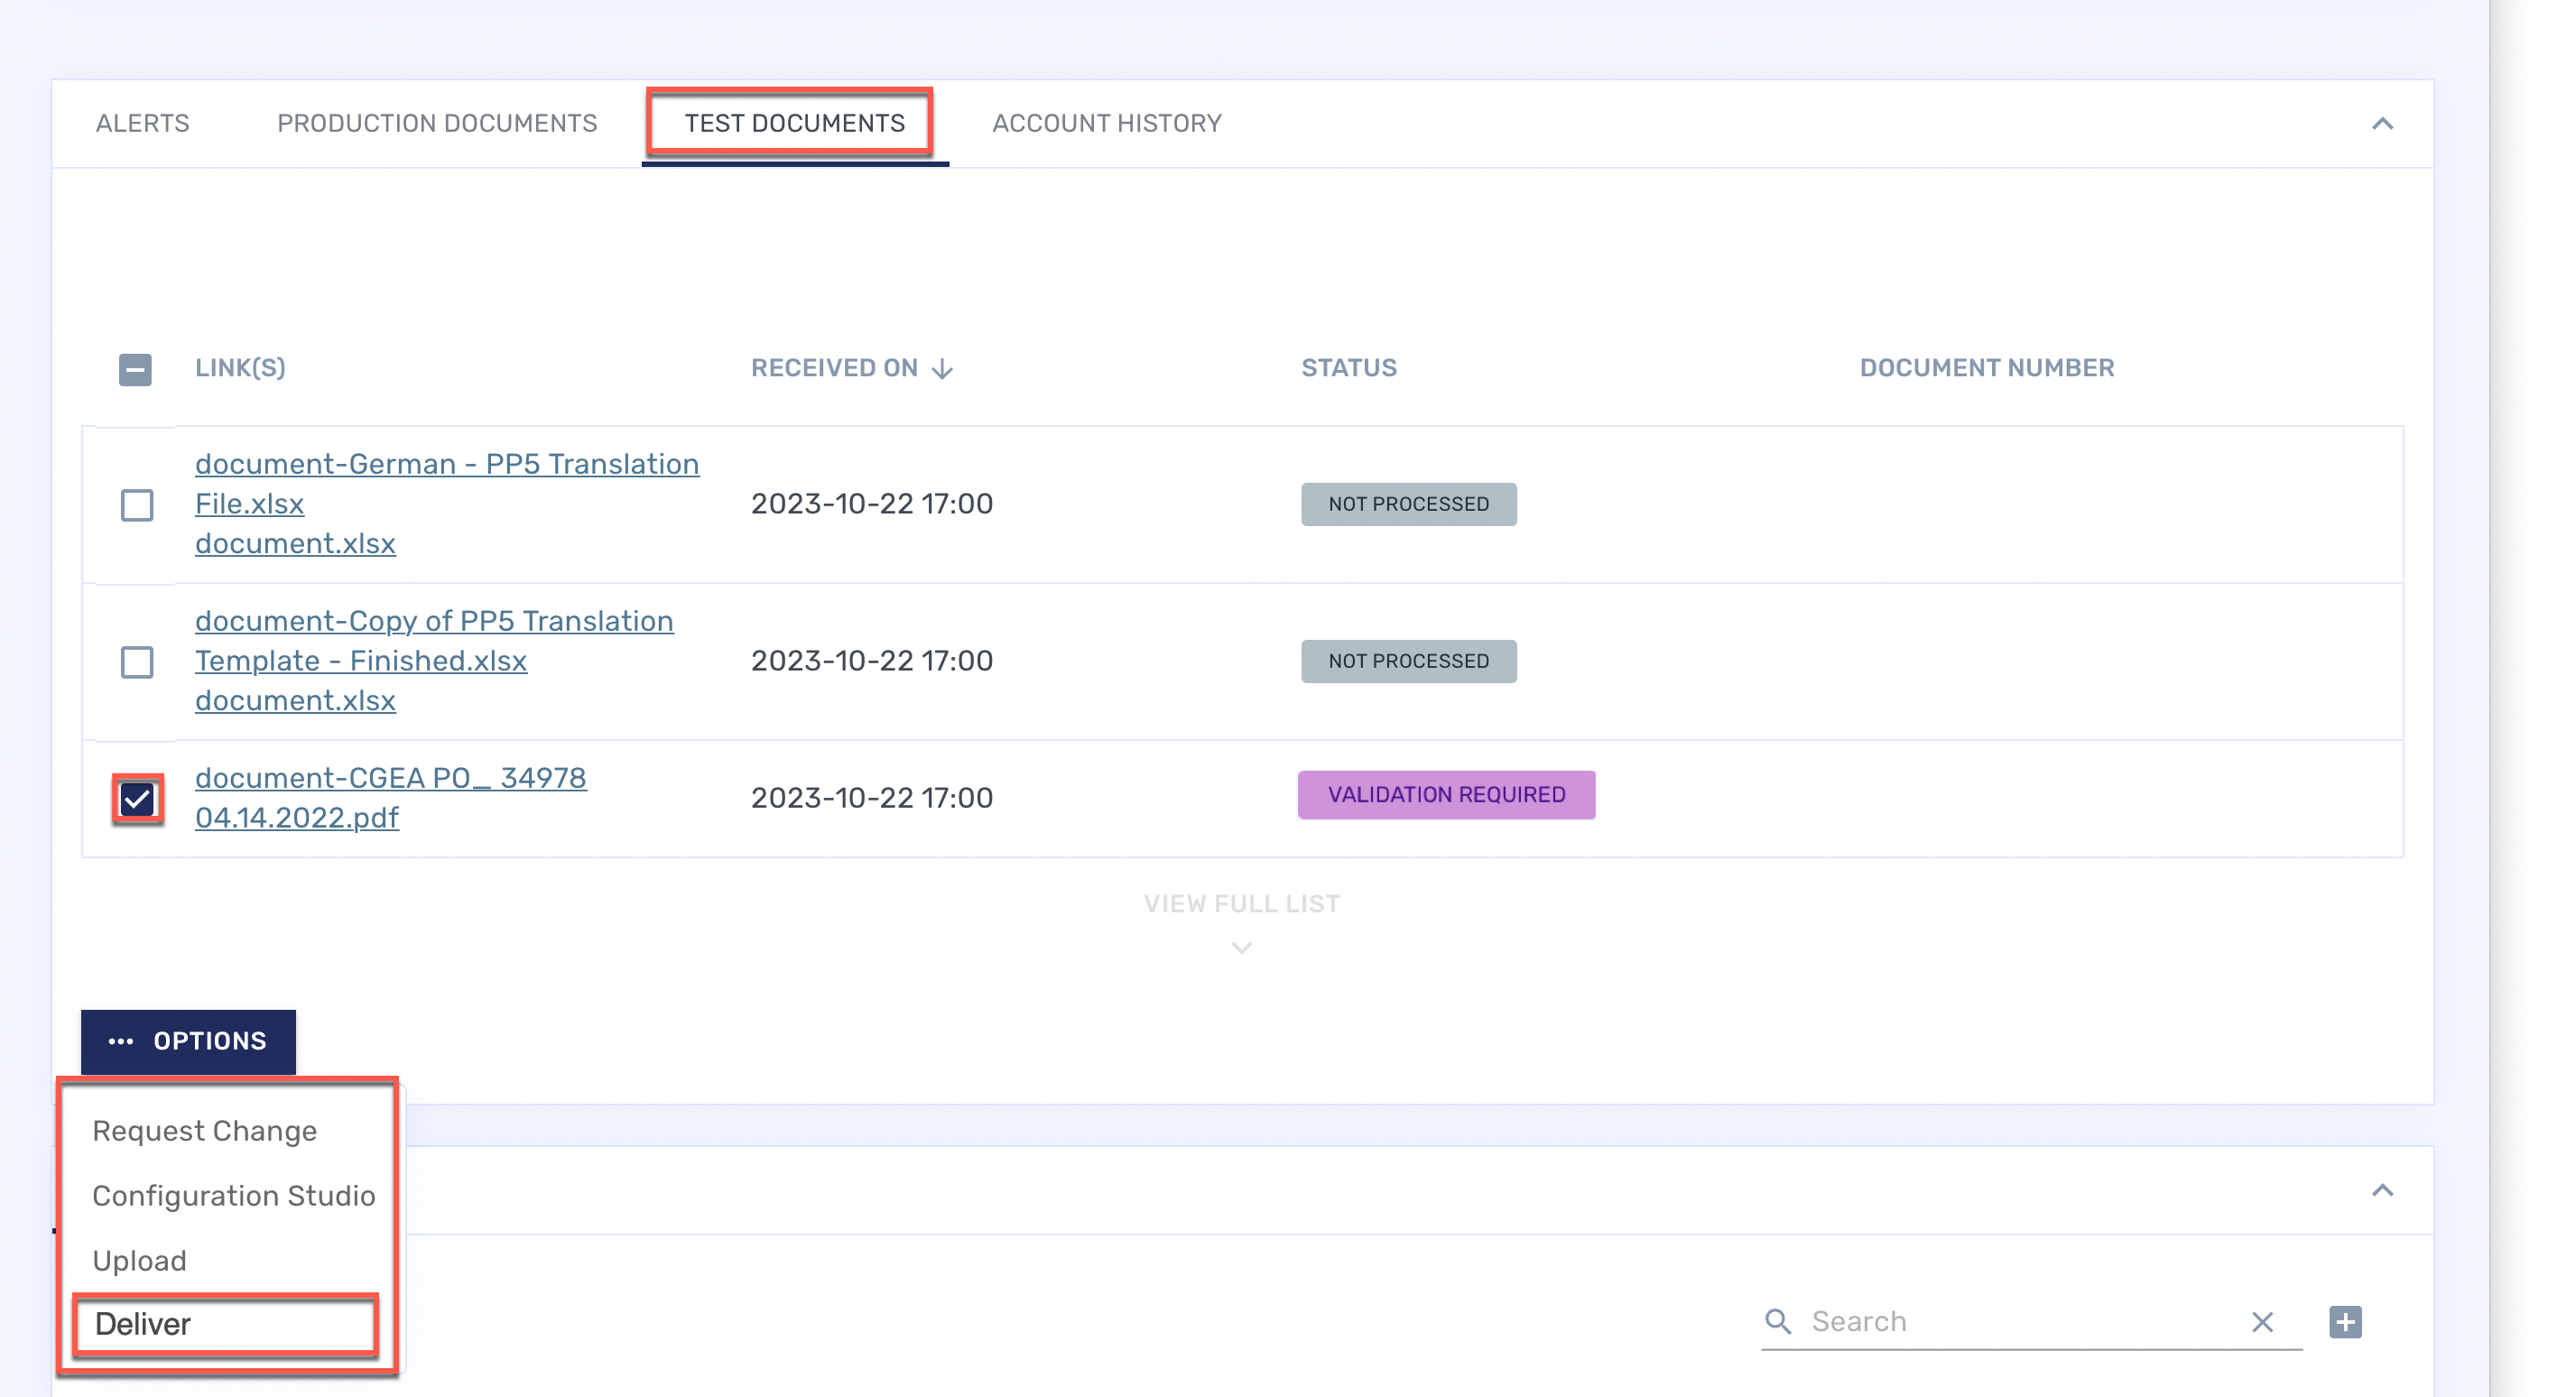
When a document has reached a status of Validation Required, it needs to be delivered to your ERP for validation. From the Test Documents tab, follow these steps:
Check the box on the row that represents the document.
Click Options.
From the menu that displays, click Deliver. The document is delivered.

You can continue to upload or send test documents after the trading partner has been moved to production.
.png)