Reach the Document Details page from either the Production Documents sub-tab or the Test Documents sub-tab on the Customer Details page.
You can also open documents in the Document Details page from the Customer (or Vendor) Page by clicking the Open Page icon for that listing.
.png?width=670&height=448&name=40%20Fixed1%20(1).png)
From the Document Details page, you can view some of the most important information on the documents you import. The page is broken into three sections and displays document information, document history, and a preview of the document.
-
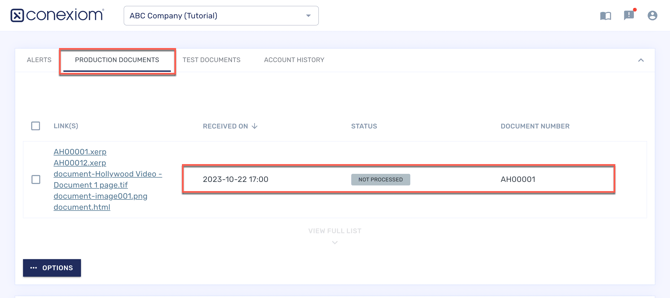
The top left of the screen displays Document details on how the document came into Conexiom and when it was processed.
-
The bottom of the left half of the screen shows the history of the document, including when it came in, what alerts were generated, who resolved the alerts, and when the processed document email was sent.
-
The right half of the page displays a preview of the inbound document. This is the same rendering that you would see if you clicked the link of the file on the Customer Details page, except that this rendering is smaller.
The preview displays one document at a time and is limited to pdf, .doc, and .xlsx files.
Some file formats must be downloaded as they will no display in the Preview frame.
Downloading the Original Document
To download the original document, follow these steps:
-
Click Download. A list of files displays. The type depends on your submission.
-
Select the file you want to download. The file is downloaded into the appropriate applications for that file type, (such as a browser window or Adobe Acrobat).
Viewing the Approval Summary
To see what change requests for this trading partner have been approved, follow these steps:
-
From the Document History Section, scroll down the list of submissions or click the Filter Search icon to search for a previous configuration request that applies to the change you are interested in. If the change request has been approved, an Action posting displays with it.

-
To view the Approval Summary, in the Action posting, look for the sentence “View the approved changes here.”
-
Click the underlined link. A rendering of the document displays with the changes highlighted.

Processing a Document from the Document Details Page
If the document was not processed due to missing information in a cross reference table then after the table has been updated the process button can be used to reprocess the document and allow it to deliver. A Delivered document can be reprocessed using the Process button if it needs to be delivered a second time.
You can manually process a document when it is ready. You can also reprocesses a document under certain conditions. If the document was not processed due to missing information in a cross reference table, then after the table has been updated, click the Process button to reprocess the document, allowing it to be delivered. A Delivered document can be reprocessed using the Process button to be delivered a second time if needed.
To manually process or reprocess a document when it is ready, follow these steps:
-
On the Document Details page, click Process. A dialog box asks for confirmation.
-
Click OK. The document proceeds to processing.
If the document is a production document and was already delivered to your ERP, then processing the document a second time will result in Conexiom delivering the document to the ERP a second time.
Taking Other Actions from the Document Details Page
There are a number of other options you can choose from this screen that are listed in the table directly below.
Because fewer options apply to documents that have gone to production, the Options menu for the Production Documents Tab offers fewer choices than the Options menu for the Test documents tab.
-
Click Options. A menu displays.
-
Select one of the following menu items and make the appropriate choices when prompted from the dialog boxes that display.
|
Option |
Action |
|
Do Not Process |
Removes the document from the Process Queue |
|
Reassign |
Resolve document routing to the incorrect trading partner by selecting the document and choosing the “Reassign” option. Then, select the correct trading partner in the popup and click OK.
For further assistance with document routing issues, see this article. |
|
Unapprove |
Removes approval from the document, changing its status. This also applies if an alert such as an Exception Manager alert or Image Validator alert was generated. Unapproving will re-open the alert, but in addition, it will reprocess the document through any logic changes or cross-reference table updates that run before the alert is generated. As a result, you will need to approve the document again after it has been reset in order for it to be allowed delivery to the ERP. |
|
Request Change |
Opens the Request Change Options menu where you can select to submit a Text Request Change or Request by Email. |
|
Assign to Automate |
If Base Automation is enabled, this option sends the document to be worked with in Base Automation and sends an alert with that information. |
|
Forward |
Creates an email by which you can send the document to yourself and others. |
|
Reset Alerts |
Resets all of the alerts for the document and reprocesses it. |