Provides information on how to configure the Conexiom Email-to-Case feature for the Conexiom Composite application.
Introduction to Email-To-Case
Email-To-Case is a feature that operates from a Salesforce instance (Sandbox, Production org, scratch org, etc).
This feature enables the forwarding of a regular inbound email to a pre-configured Salesforce email which will in turn convert the email into a Case at Salesforce.
Once the Case is created in Salesforce, we can utilize the email content or attached files to determine if this Case is eligible to create an automated Order from it.
More information about about standard Email to Case functionality is covered in this link: https://focusonforce.com/configuration/salesforce-email-to-case-example/
How to configure Email-To-Case?
-
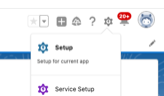
On the top righthand corner of your screen click the gear icon and select Setup:
-
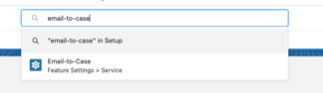
On the top middle of the Search in the search bar:

-
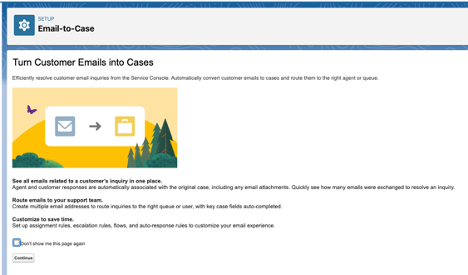
On the following page select Continue in the bottom left hand corner:
-
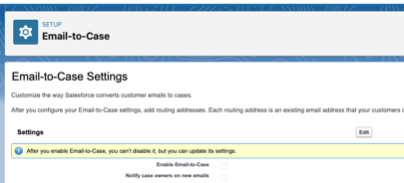
In the next screen select the Edit button:
-
Ensure the following settings are enabled and press Save:
-
Enable Email-to-Case
-
Enable HTML Email
-
Set Case Source to Email
-
Save Email-to-Case attachments as Salesforce Files
-
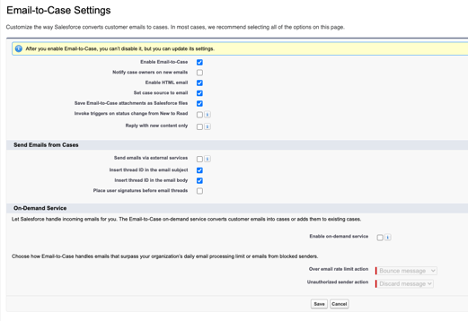
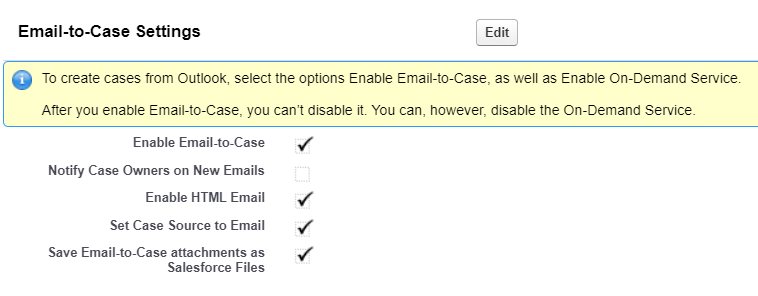
Base Email-to-Case settings should look like this:
Conexiom Admin - Email-to-Case Settings
-
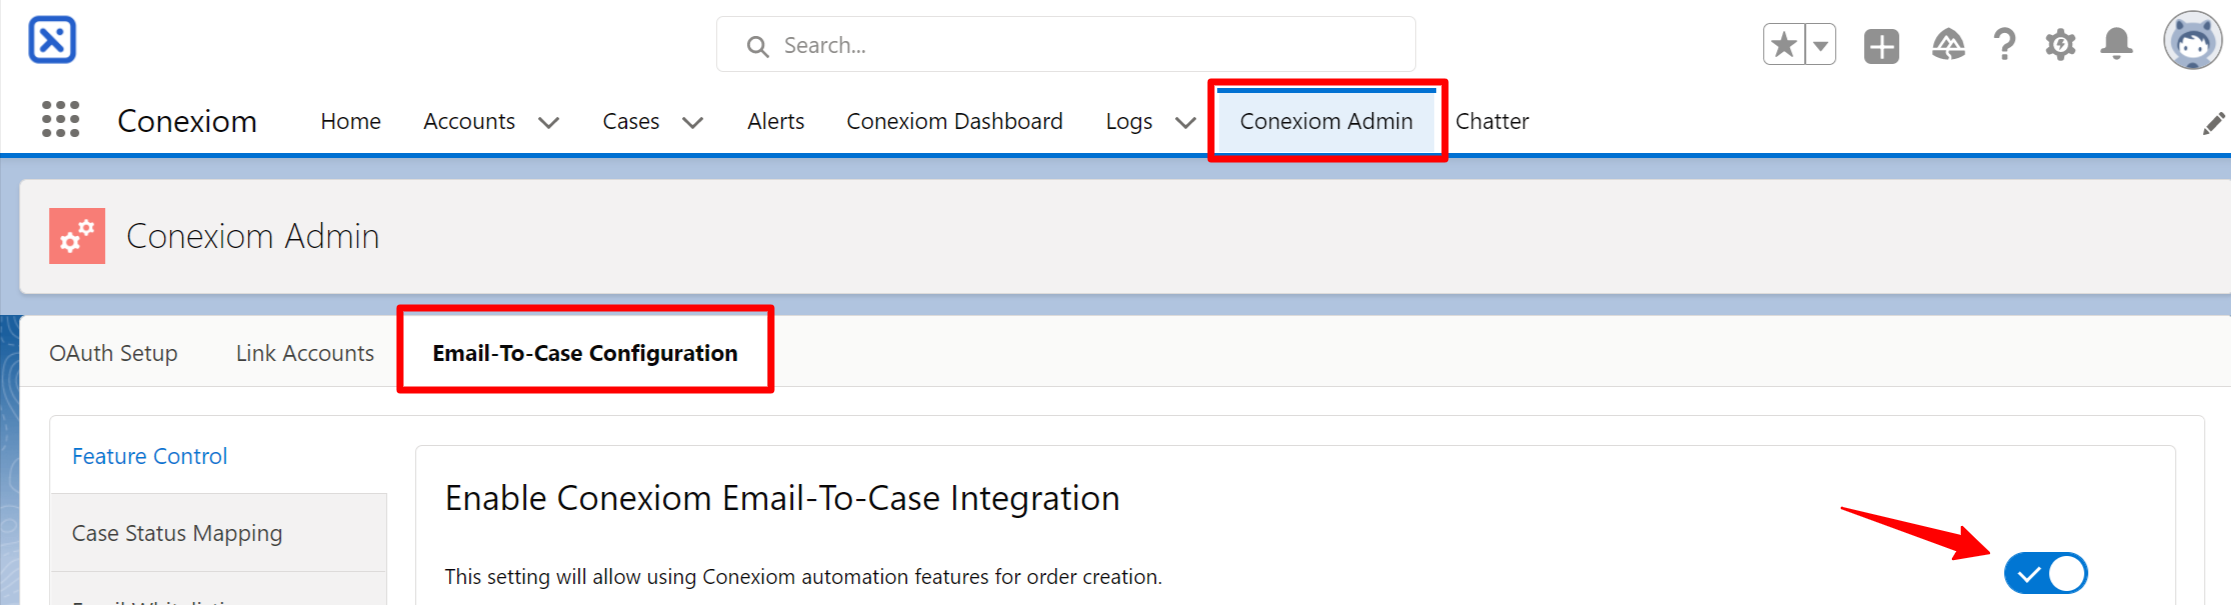
In Salesforce, open the App Launcher, and select Conexiom.
-
Navigate to the Conexiom Admin tab > Email-To-Case Configuration sub-tab.
-
Within the Feature Control section, toggle Enable Conexiom Email-to-Case Integration to ON.
-
-
-
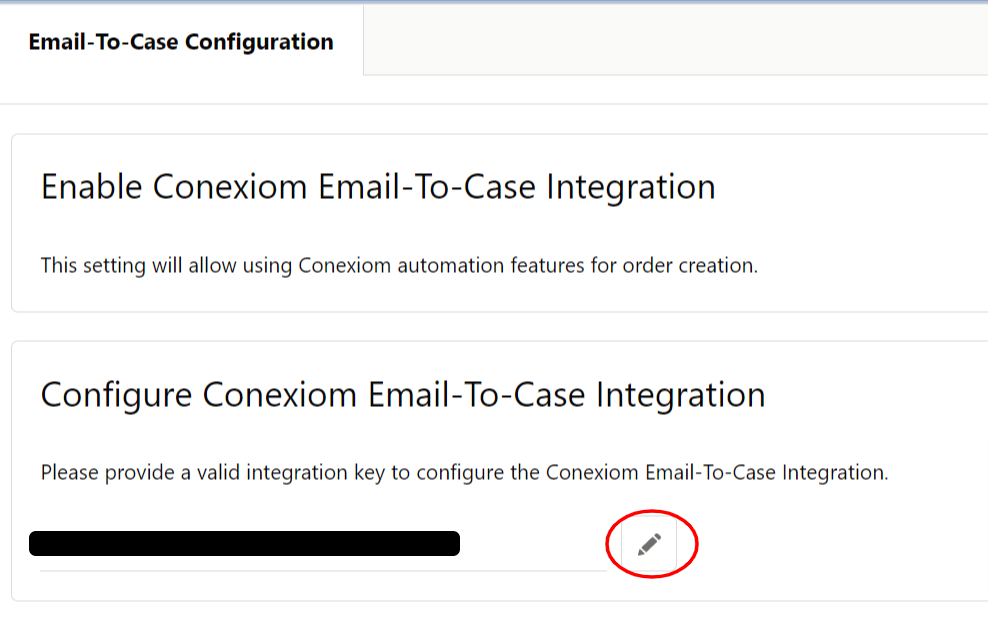
Only users that have been assigned the Conexiom Admin permission set will display in this field. This should be a user that has already established SSO and been successfully authenticated to the Conexiom platform.
-
-
The Toggle Case auto-forwarding to Conexiom setting controls whether Cases identified for Conexiom should be forwarded automatically (when ON) or added to a batch job to be delivered on a set frequency (when OFF). Select the option most appropriate for your business needs.
-
By default, the Enable Base Automation and Enable Sending Orphan Cases settings will be disabled. These settings will become enabled ONLY if Base Automation is included in your Conexiom Subscription. If Case Identification Filters are setup, these settings will be ignored. If unsure, check with Conexiom Help Desk.
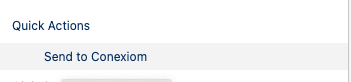
Manually sending cases to Conexiom
-
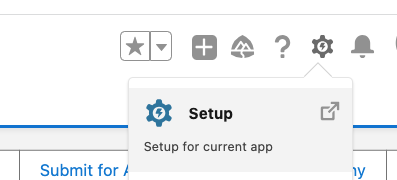
After these steps are enabled, then click the gear icon in the top right header and select Setup:
-
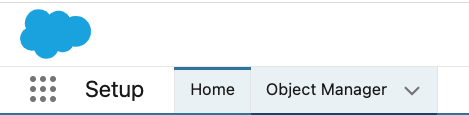
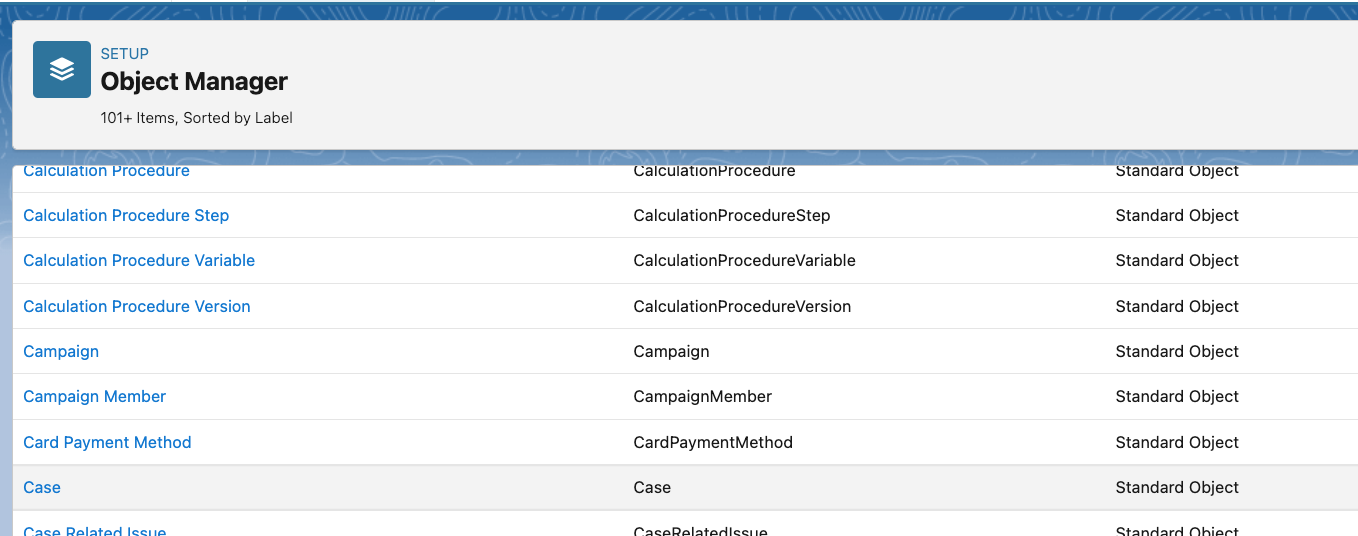
Select Object Manager in the top left header:

-
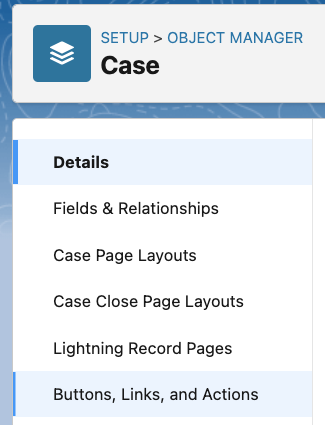
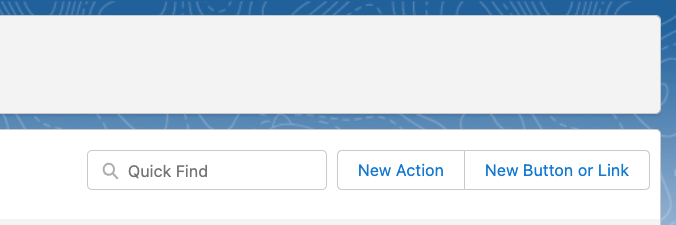
In the left panel menu select Buttons, Links, and Actions:

Adding New Action to Case Page
-
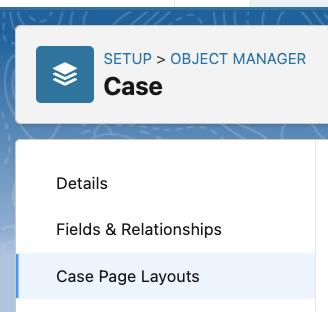
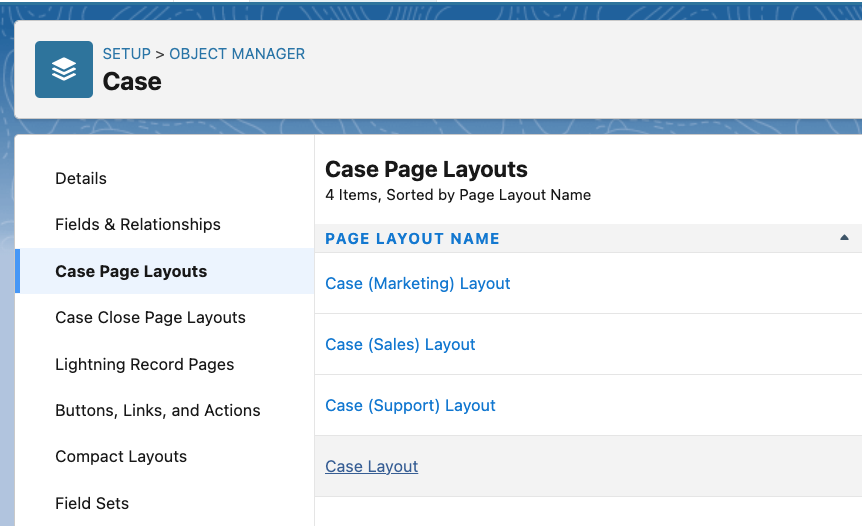
Continuing from the previous step, on the left side menu select Case Page Layouts:

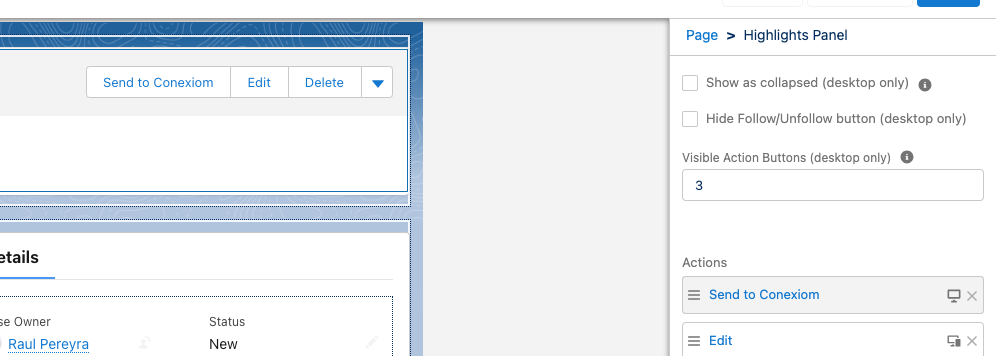
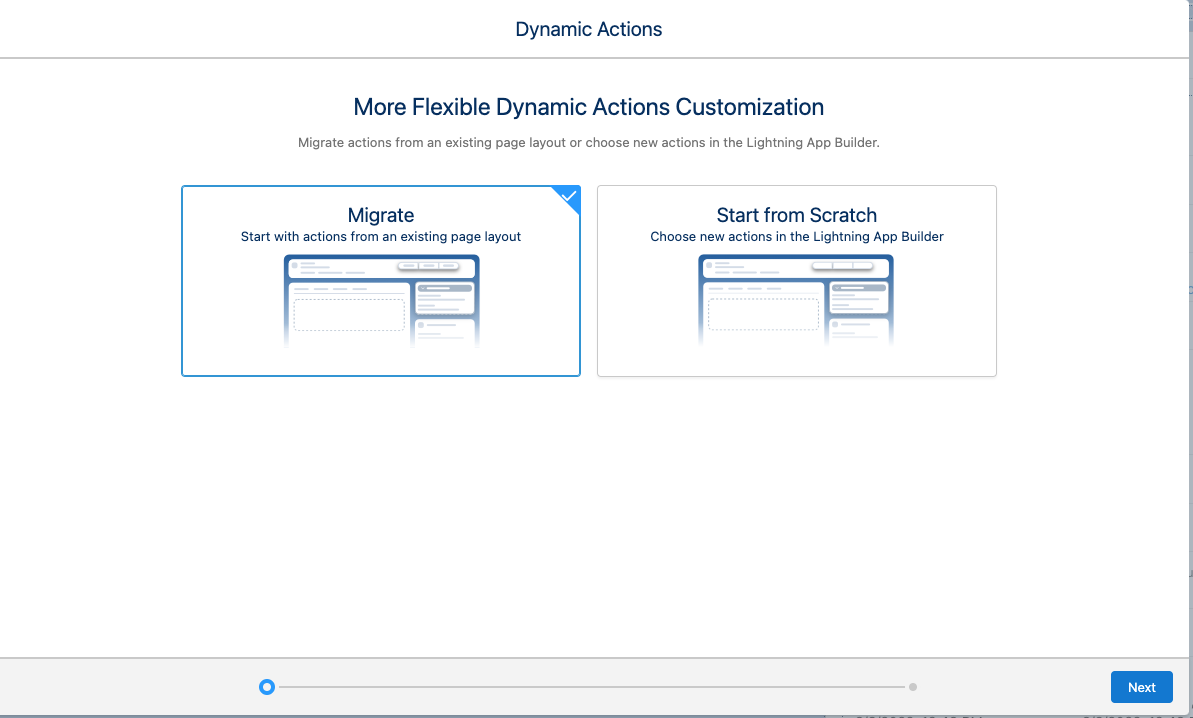
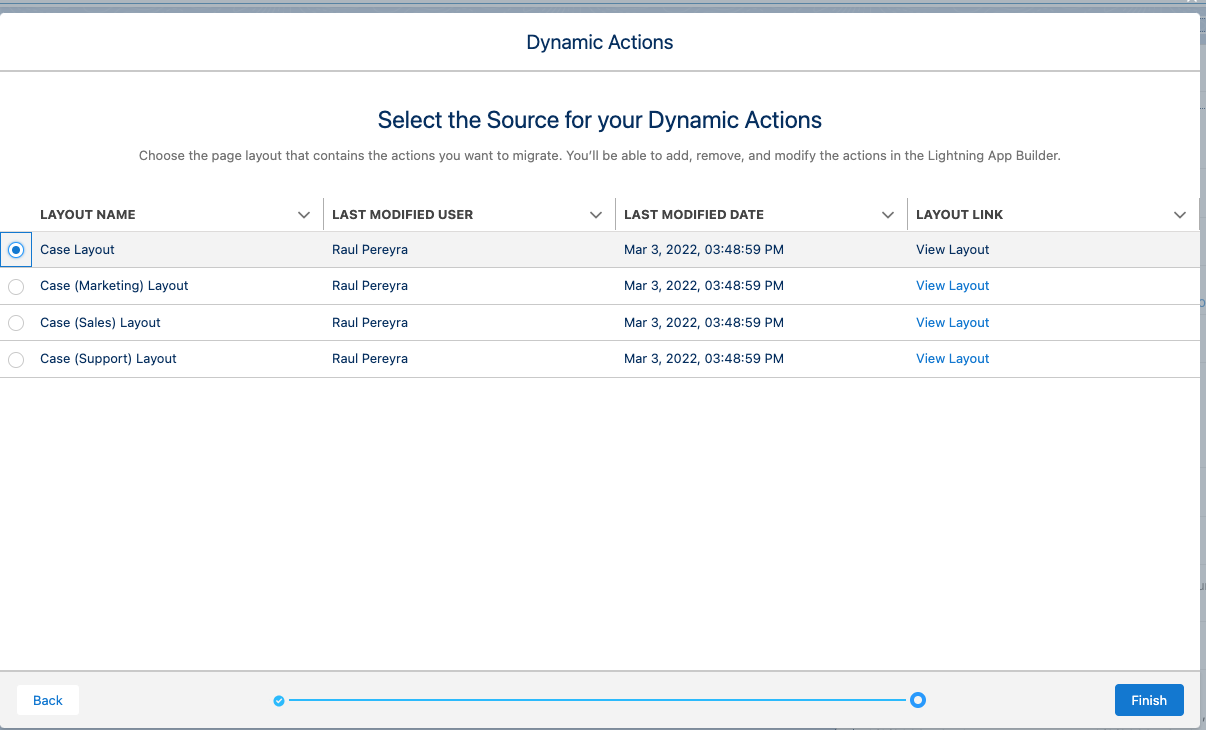
Enabling Dynamic Actions
-
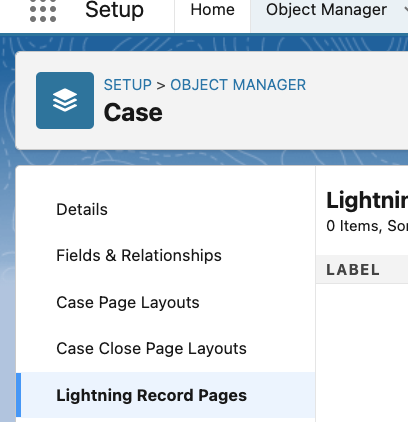
In the Cases section of Object Manager in Setup select Lightning Record Pages:

-
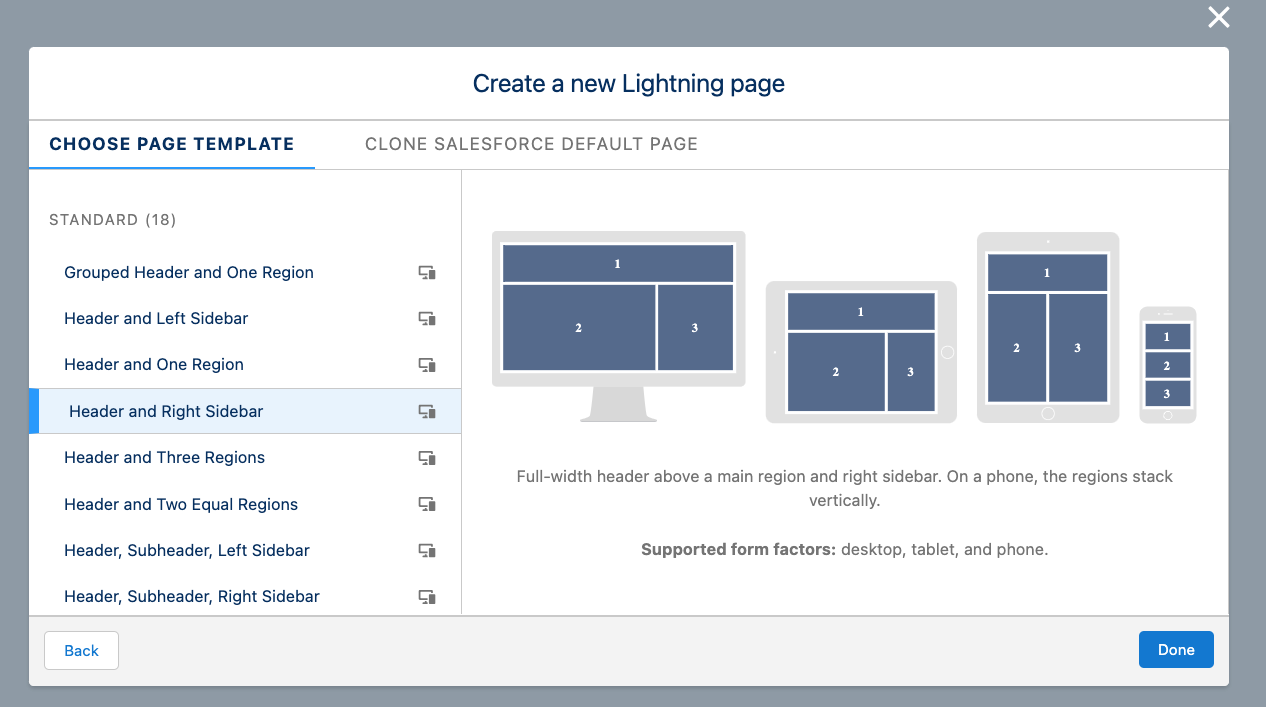
In the Lightning App Builder select a Record Page and press Next:

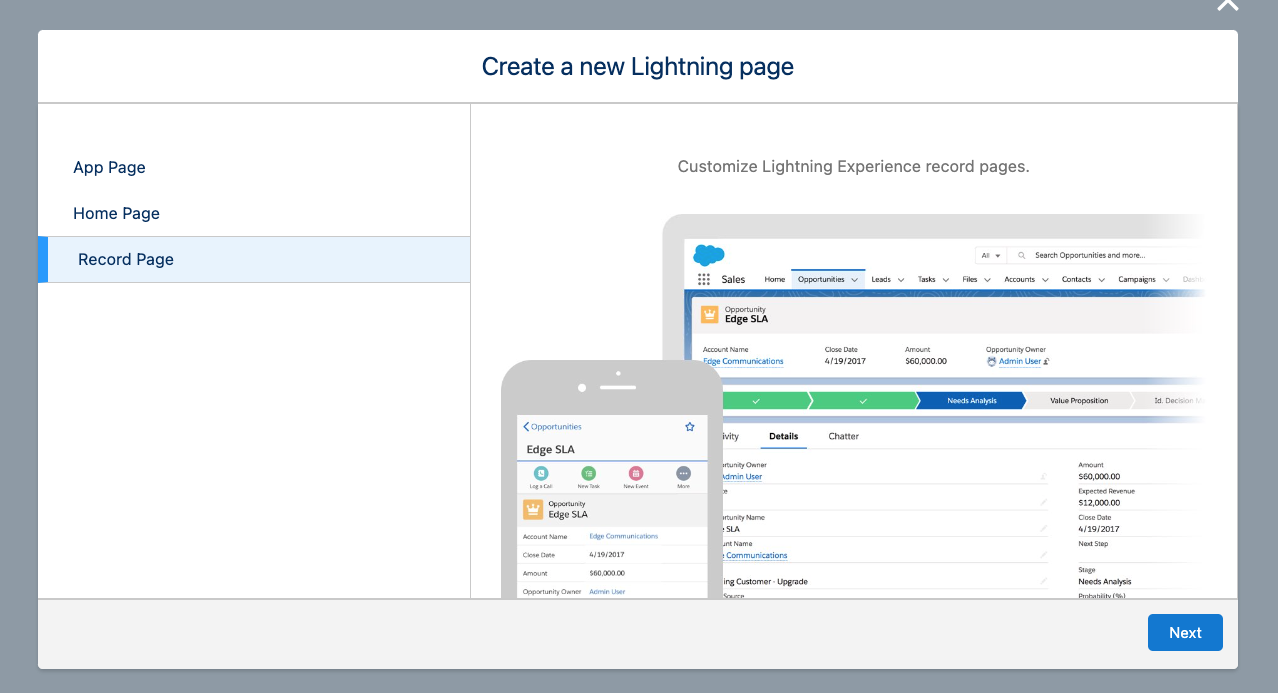
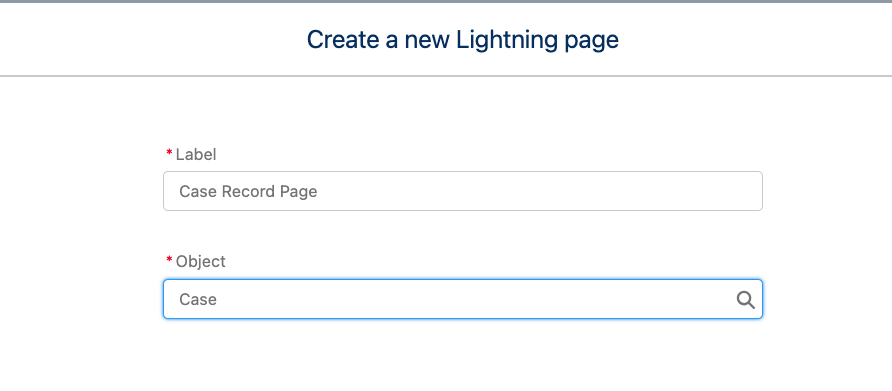
Note: the layout is purely a suggestion. A customer can choose a layout anyway they want. For demonstration purposes select Header and Right Sidebar followed by Done.
-
Drag Highlight Panel to the top header portion of the layout:

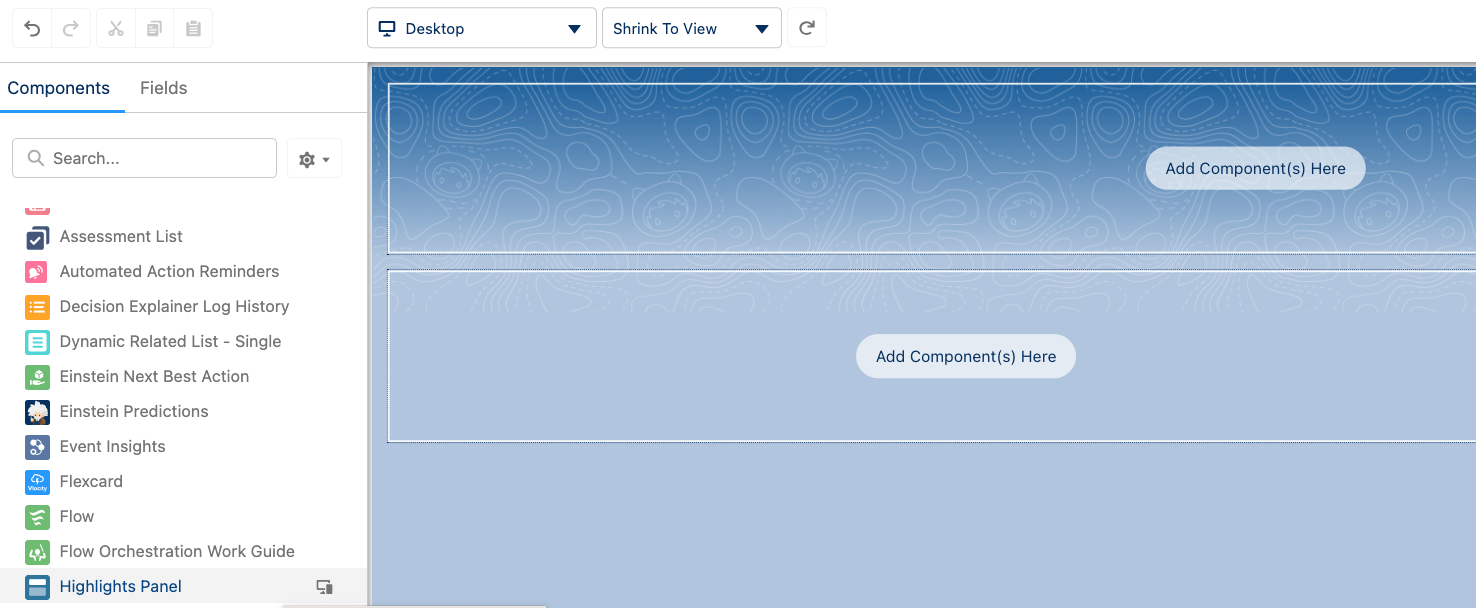

-
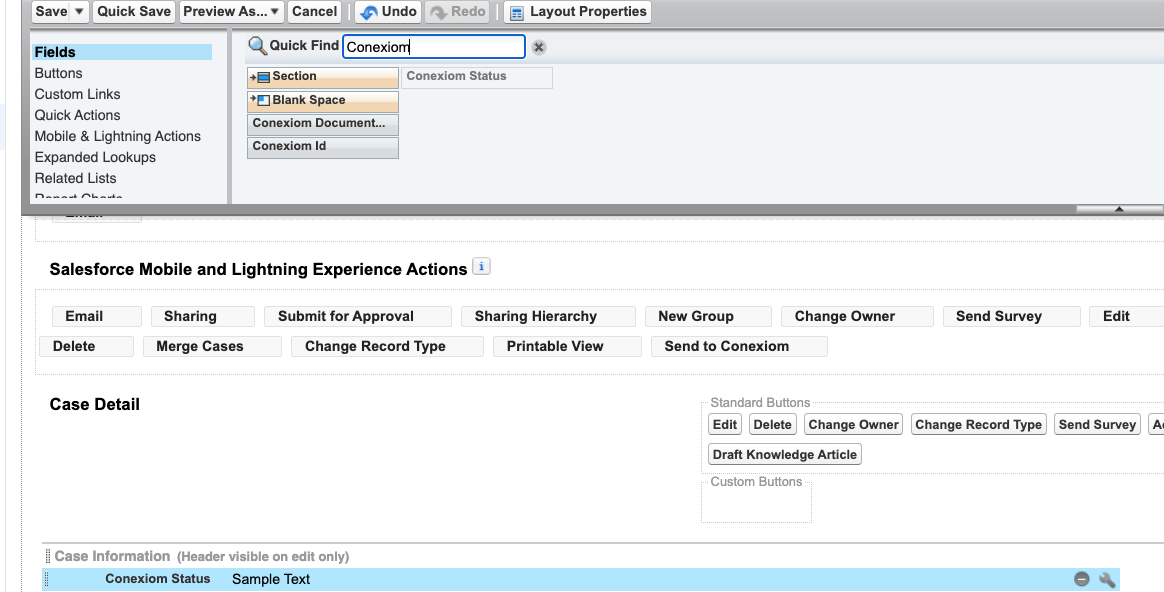
Select Send to Conexiom: