
Add, change, or remove user contacts.
Adding, Modifying or Deleting a User Contact
You can add, delete, or modify user contact information. All contacts on the Company page are users who can log into the system.
Note: The terms “User” and “Contact” are treated synonymously.
To access contact information, follow these steps:
-
Click the Company tab.
-
Scroll to the Contacts section.
-
Follow the steps below for the process you want.
Adding Contacts (Users)
Each time you add a user, an email is sent so they can create a password and access the portal. For login details, visit [link].
To add a user to the Contact List, follow the steps below.
-
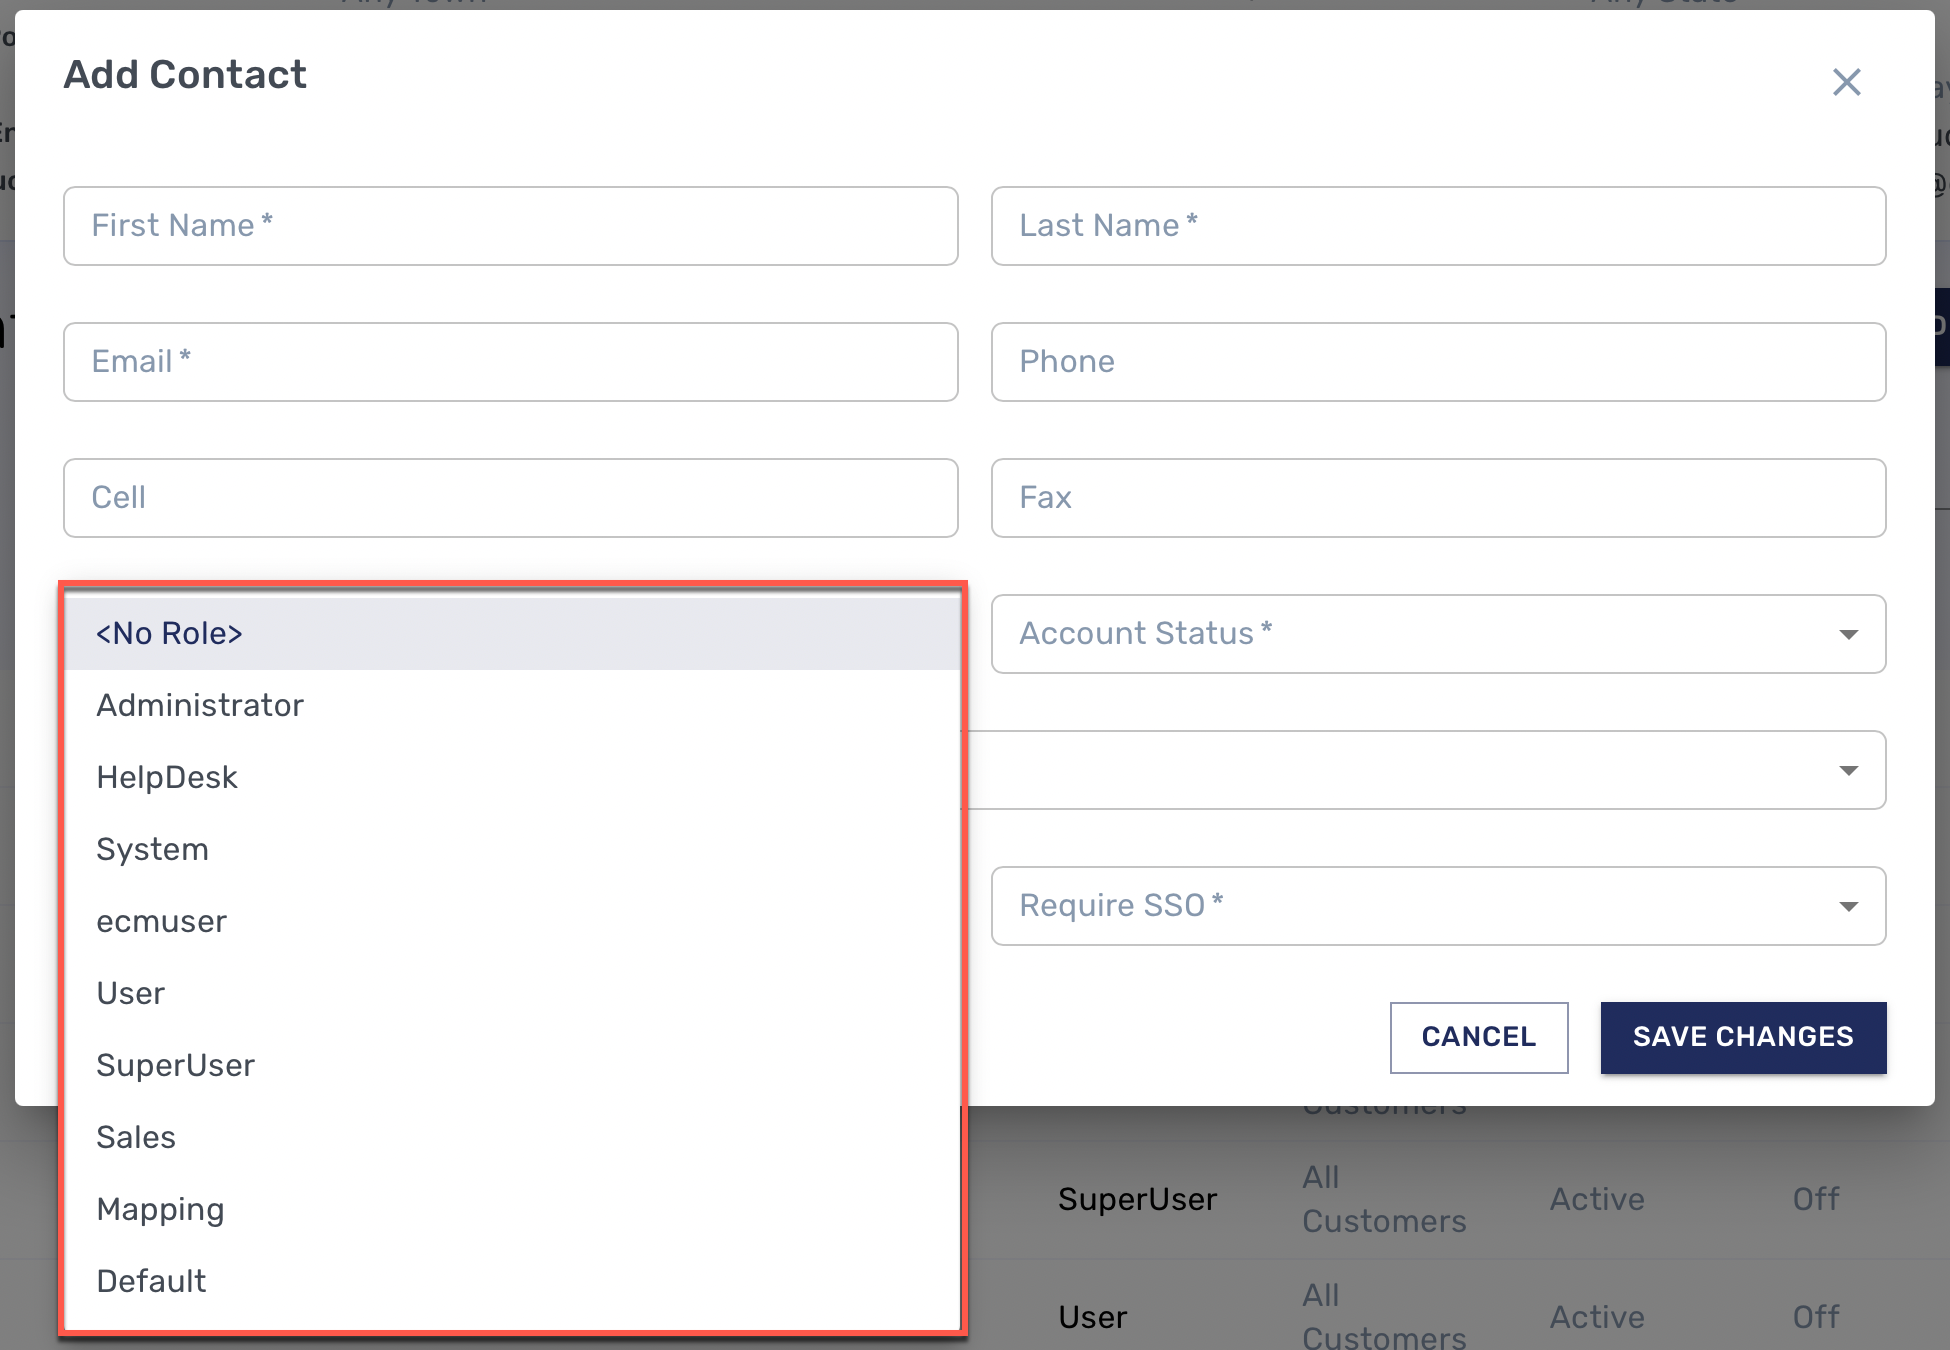
Click Add. The Add Contact dialog box displays.
-
Enter the appropriate information in each field:
First Name, Last Name, Email, Account Status, and Role Access are mandatory—as shown by the asterisk (*).
Note: Be sure the email is correct as it notifies the user that they have been set up. -
When selecting a role, designate it as Active or Inactive.
Note: When a user gets locked out of their account, a Super User must come and mark them back as 'Active'. For more see link -
Super Users can modify the default role’s permissions. (Under Settings and Permissions, pictured below).
-
Two-factor authentication refers to login security. From the drop-down menu, make a selection according to your company’s policies.
-
-
Click Save Changes.
To edit one or more users on the Contact List, follow these steps:
-
Click the checkboxes that correspond to the contacts you want to edit.
-
Click Edit. The Contact Dialog displays.
-
Enter the changes you want to make.
-
Click Save Changes. All of the listings you selected are changed.
Deleting Contacts (Users)
You can delete a user from the Contact List at any time.
-
Click the checkboxes that correspond to the contacts you want to delete.
-
To delete a user, click Options and from the menu that displays, click Delete.
-
Click Save Changes.